Succulents are popular plants for their beauty, resilience, and low-maintenance nature. One of the most rewarding aspects of growing succulents is their ease of propagation, allowing you to grow more plants from your existing collection. Whether you’re a seasoned gardener or a beginner, propagating succulents can be an exciting and gratifying experience. In this guide, we’ll walk you through different methods of succulent propagation and provide tips to ensure your efforts are successful.
Why Propagate Succulents?
Succulent propagation is an excellent way to expand your collection without purchasing new plants. It’s also an effective way to share plants with friends and family. Furthermore, propagation ensures the survival of your favorite succulents in case the original plant becomes damaged or dies. It’s both cost-effective and eco-friendly.
The Best Time to Propagate Succulents
While succulents can be propagated year-round, the best time is during their active growing season, typically in spring and summer. The plants are more likely to root quickly and grow vigorously during this period. Winter propagation can still be successful, but it may take longer for the succulents to establish.
Methods of Succulent Propagation
There are several methods to propagate succulents, depending on the type of succulents and the materials available. The most common techniques include leaf propagation, stem cuttings, offsets, and seed propagation.
Leaf Propagation
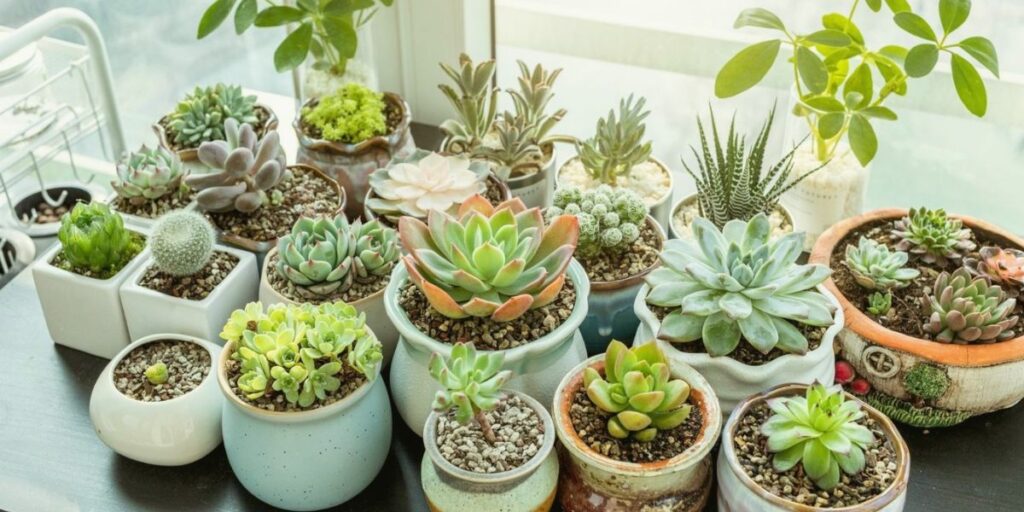
Leaf propagation is one of the easiest and most popular methods for succulents with thick, fleshy leaves, such as Echeveria and Sedum species. Here’s how to propagate succulents from leaves:
- Step 1: Gently remove a healthy, plump leaf from the base of the plant. It’s essential to ensure that the entire leaf comes off cleanly without tearing. A broken or damaged leaf may not propagate successfully.
- Step 2: Allow the leaf to dry and callous over for a few days. Place it in a dry, shaded area, as this prevents rotting when it is planted.
- Step 3: Once the leaf has calloused, lay it on top of well-draining soil (such as a cactus mix) without burying it. Spritz the soil lightly with water every few days to maintain moisture, but avoid overwatering.
- Step 4: After a few weeks, tiny roots and baby plants will start to emerge from the base of the leaf. Once the baby succulents are big enough, you can transplant them into their pots.
Stem Cuttings
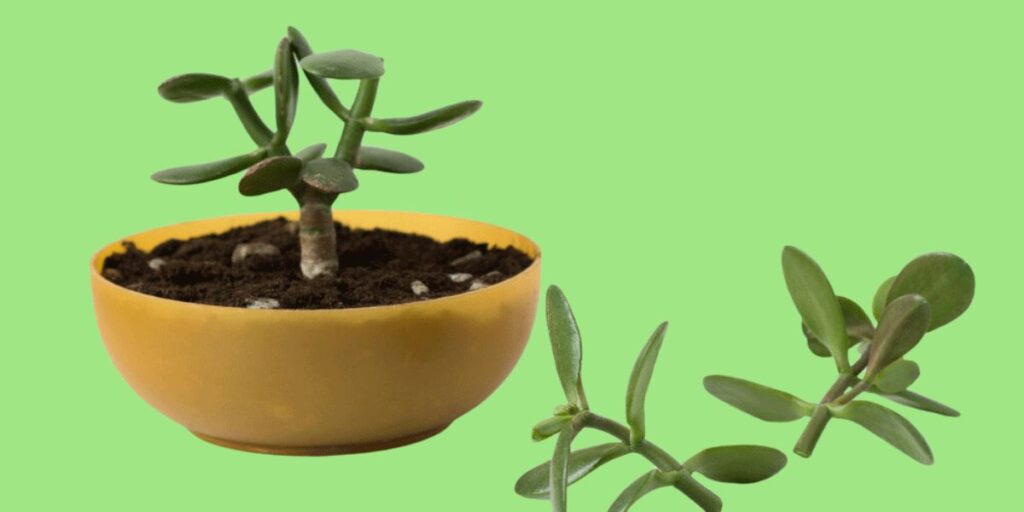
Stem cuttings are ideal for succulents that grow on elongated stems, such as jade plants (Crassula) or string of pearls (Senecio). This method works particularly well for leggy succulents that have grown tall and sparse.
- Step 1: Using a clean, sharp pair of scissors or a knife, cut a healthy section of the stem, leaving at least a few inches of the stem intact.
- Step 2: Allow the cutting to dry and callous for a few days to prevent rot.
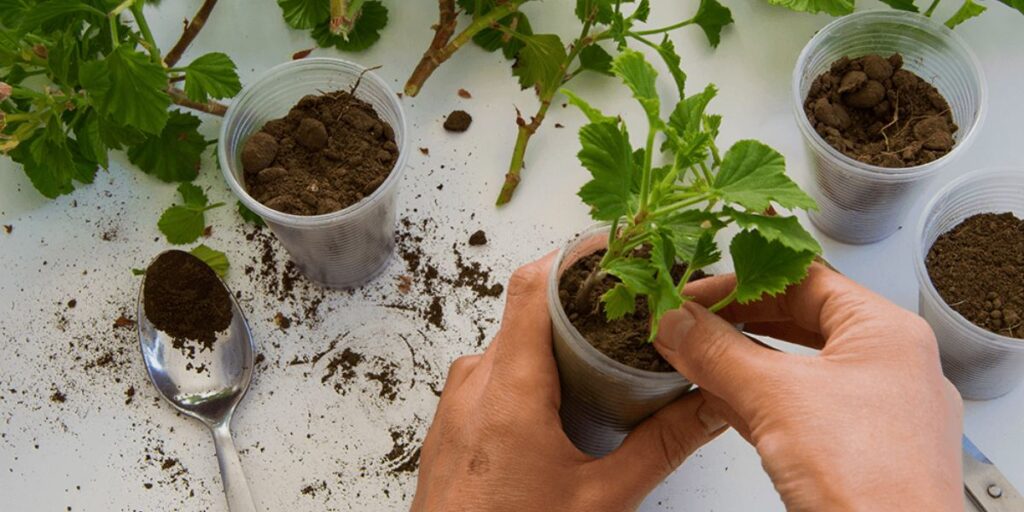
- Step 3: Plant the calloused cutting in well-draining soil and water sparingly. Over time, roots will form from the base of the cutting, and new growth will appear.
Offsets (Pups)
Many succulents, such as hens and chicks (Sempervivum) and aloe vera, produce small clones of the mother plant known as offsets or pups. These are mini versions of the original plant that grow around the base of the mother.
- Step 1: Gently remove the pup from the base of the mother plant using your fingers or a sharp knife. Be sure to include any roots attached to the pup.
- Step 2: Allow the pup to dry for a day or two to let the wound heal.
- Step 3: Plant the offset in its pot with well-draining soil, and water it lightly until it becomes established.
Seed Propagation
Propagating succulents from seeds is a more time-consuming process but can be incredibly rewarding, especially if you want to grow a large number of plants. This method is best for more experienced gardeners or those looking to experiment.
- Step 1: Purchase succulent seeds from a reputable supplier. Ensure that the seeds are of high quality and come from a trusted source.
- Step 2: Fill a shallow tray with well-draining soil, and scatter the seeds on top. Succulent seeds are tiny, so be careful not to bury them deeply.
- Step 3: Mist the soil lightly and cover the tray with a plastic lid or cling wrap to create a humid environment.
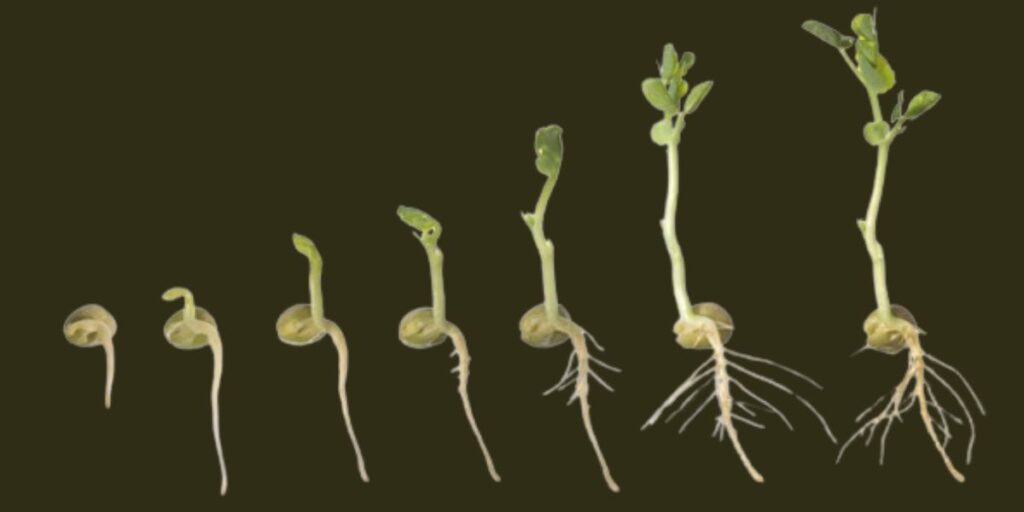
- Step 4: Place the tray in a bright, warm location, but avoid direct sunlight. Keep the soil consistently moist, but not soggy. After a few weeks, the seeds will germinate, and tiny succulents will begin to grow.
Common Mistakes to Avoid
While propagating succulents is generally straightforward, there are a few common mistakes that can hinder success:
- Overwatering: Succulents are prone to rot if they are overwatered, especially during the propagation process. Only water lightly when the soil is dry, and ensure your soil has excellent drainage.
- Lack of patience: Succulent propagation can be a slow process. It may take weeks or even months for new roots and plants to develop. Be patient and avoid disturbing the leaves or cuttings too often.
Inadequate light: While succulents need bright light, direct sunlight can scorch new growth. Ensure your propagating succulents receive indirect light to avoid damage.
Caring for Newly Propagated Succulents
Once your propagated succulents have taken root and begun growing, it’s essential to care for them properly to ensure their health and longevity. Place them in a bright spot with indirect sunlight, and water sparingly, and avoid moving them too frequently. Over time, they will grow into mature plants, and you’ll have successfully propagated your succulents!
Final Thoughts
Propagating succulents is a fun, low-cost way to expand your plant collection while learning more about this fascinating plant propagation. With a little patience and the right care, anyone can master the art of succulent propagation. Whether through leaves, stems, or offsets, propagating succulents offer a rewarding way to cultivate your green thumb while enjoying the beauty of these hardy plants. Happy propagating!


